


Before sealing your deck, sweep and scrub to remove dirt, ensure dryness, and fix any issues. Choose a suitable deck sealer based on material and conditions, focusing on UV, temperature, and moisture resistance. Maintain your sealed deck every 1-2 years, reapplying during ideal weather for extended protection and aesthetics.
Looking to transform your outdoor space? Achieve a durable, protective finish with this comprehensive DIY deck sealing guide. From preparing your deck’s surface to selecting the perfect sealer and mastering application techniques, we’ll walk you through every step for long-lasting results. Elevate your deck’s beauty and longevity – seal it successfully with our expert advice.
Prepare Your Deck for Sealing

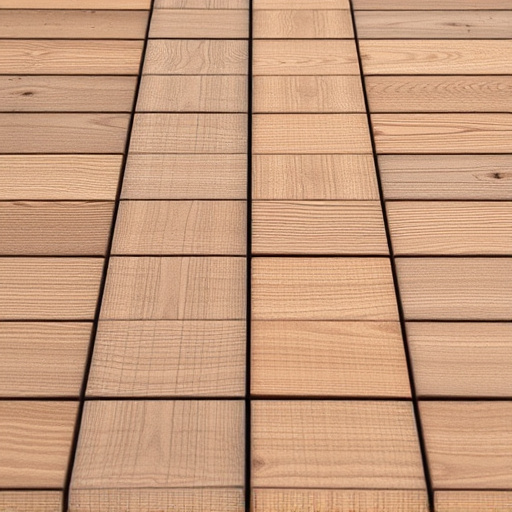
Before sealing your deck, it’s crucial to prepare it properly for optimal results. Start by sweeping the deck thoroughly to remove any dirt, debris, or leaves. Use a stiff brush to scrub away any stains or old sealer residue, as these can prevent the new sealant from adhering effectively. Ensure the deck is dry and free of moisture to avoid sealing in unwanted elements that could cause damage over time.
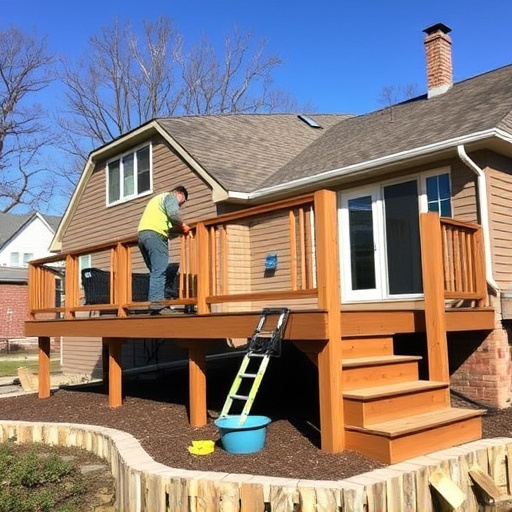
Inspect your deck for any necessary repairs. Fix any loose boards, nails, or screws to create a solid surface. Address issues like damaged siding installation or roof repair, as these can impact the overall stability and aesthetics of your deck. Once the deck is in good condition, you’ll be ready to apply the sealant evenly, ensuring a long-lasting and protective barrier for your outdoor space.
Choose the Right Sealer
Selecting the appropriate deck sealer is a pivotal first step to achieving DIY deck sealing success. Consider factors such as your deck’s material (wood, composite, or vinyl) and existing condition. Look for sealers specifically designed for outdoor use and resistant to UV rays, extreme temperatures, and moisture, which are essential for long-term protection. “Roofing solutions” and “siding repairs” may seem unrelated, but understanding these concepts can help you choose a sealer that effectively addresses water penetration and weathering, key issues for any exterior surface, including your deck.
Apply and Maintain the Seal

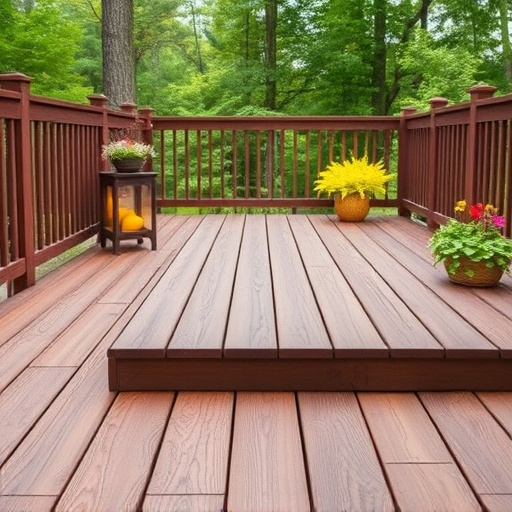
After applying the deck sealer, it’s crucial to maintain its effectiveness for optimal protection. Regular reapplication is key; most sealers recommend doing this every one to two years, depending on factors like exposure to sun and weather. Think of it as a regular exterior home improvement task, similar to cleaning your siding and gutters.
During maintenance, inspect the deck for any damaged or lifted boards, which may require repair before reapplication. Weather conditions play a significant role; avoid sealing during heavy rain or extreme heat. Instead, opt for cooler temperatures and dry days, ensuring the sealer can bond correctly with the wood. This process not only extends the life of your deck but also enhances its overall appearance, keeping it looking vibrant and new.
Sealing your deck is a straightforward process that can significantly enhance its longevity and beauty. By following these steps, preparing your deck appropriately, selecting the ideal sealer for your needs, and committing to regular maintenance, you’ll achieve professional-looking results. DIY deck sealing allows you to control the quality and customization of your outdoor space, ensuring it remains a vibrant and functional part of your home for years to come.